Curriculum Matrix
Companion Resource

Introduction to Circuits
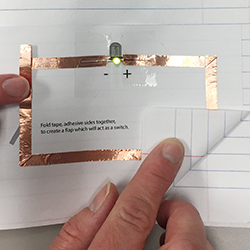
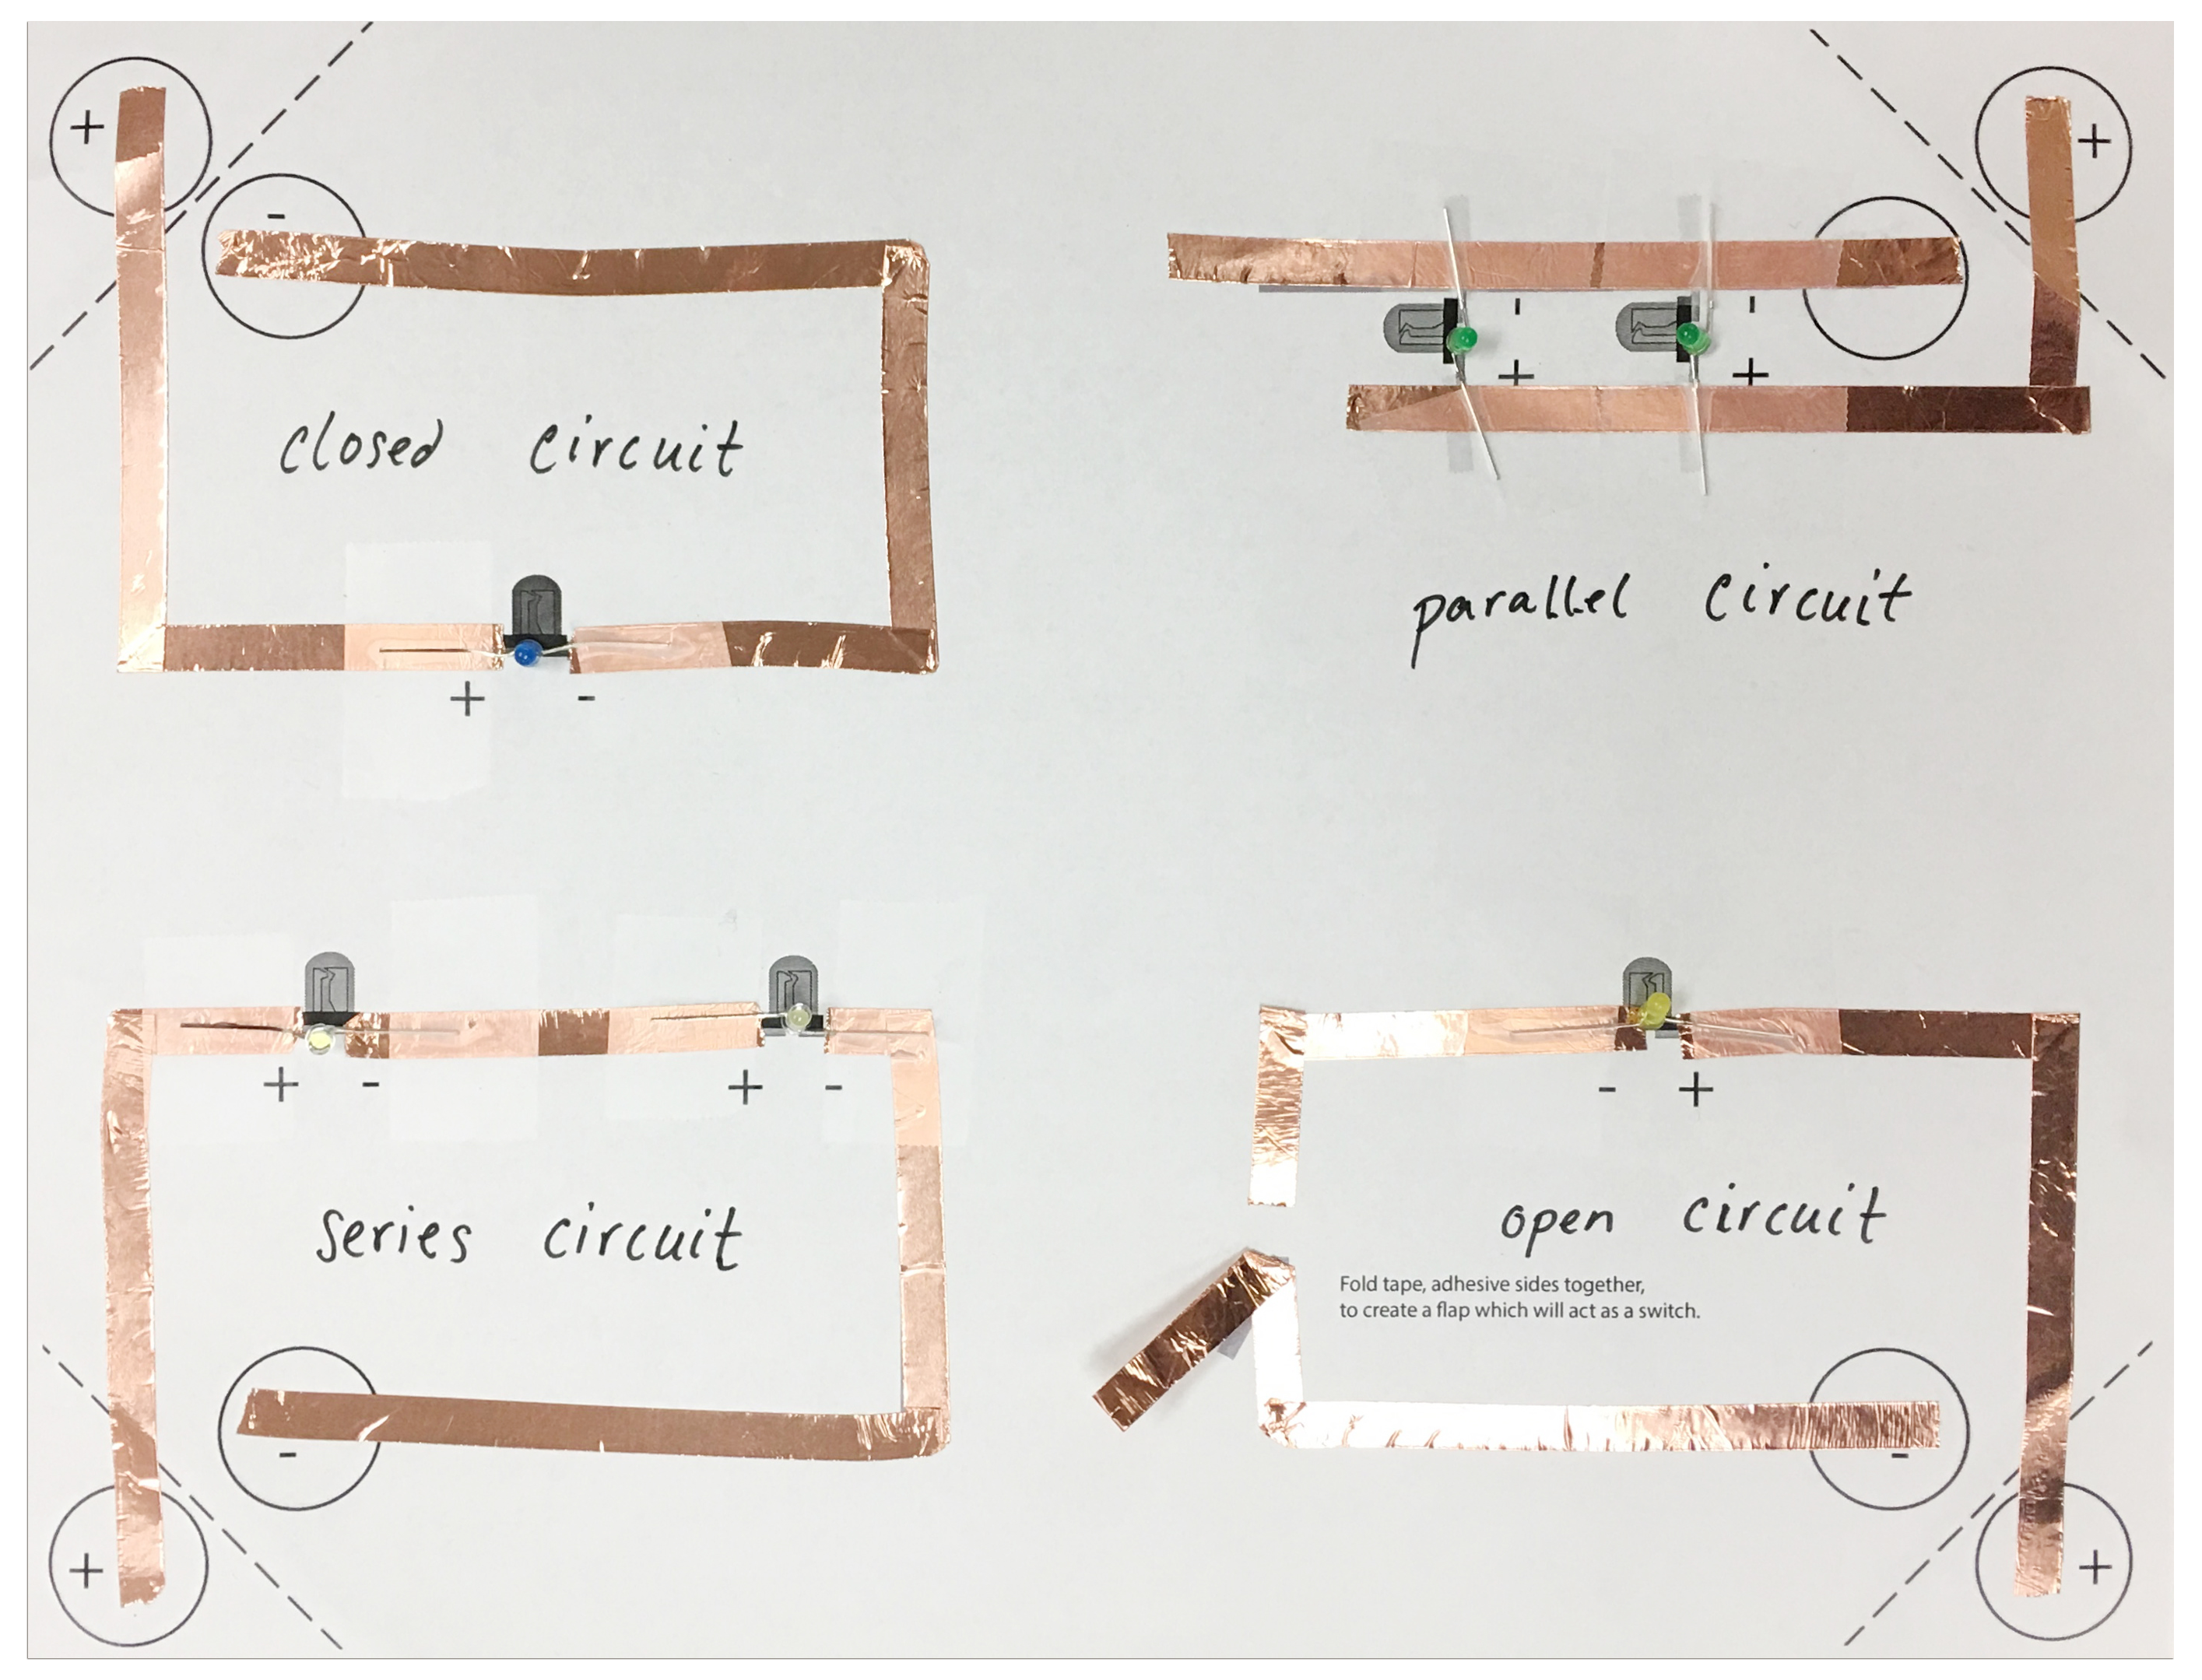
Paper circuits are an exciting way for students to learn how electrical circuits work. This activity gives students a foundation for what a circuit is and how to create a closed, series, parallel, and open circuit using a few simple supplies. The concepts learned in this introductory activity are a springboard for more complicated electrical projects such as sewing circuits and building prototypes controlled by Arduino boards.
Time to Complete
Materials
- Copper conductive tape cut into 18” pieces, four pieces per student*
- 3mm LEDs, 6 per student*
- 3-volt coin cell battery, one per student*
- Transparent tape, one per student or group of students
- Black permanent marker, one per student or group of students
- Paper Circuits activity instructions, 1 per student
*These items are included in the Paper Circuits kit, which is available from agclassroomstore.com.
Procedures
- Give each student one copy of the attached Paper Circuits activity instructions. Pages 1-4 contain the student instructions and can be printed front to back. Page 5 has the circuit diagrams students will use to place their conductive tape and LED lights.
- Provide students access to the lab materials listed on the handout.
- Give students a brief overview of the Paper Circuits activity and show them an example of the completed project.
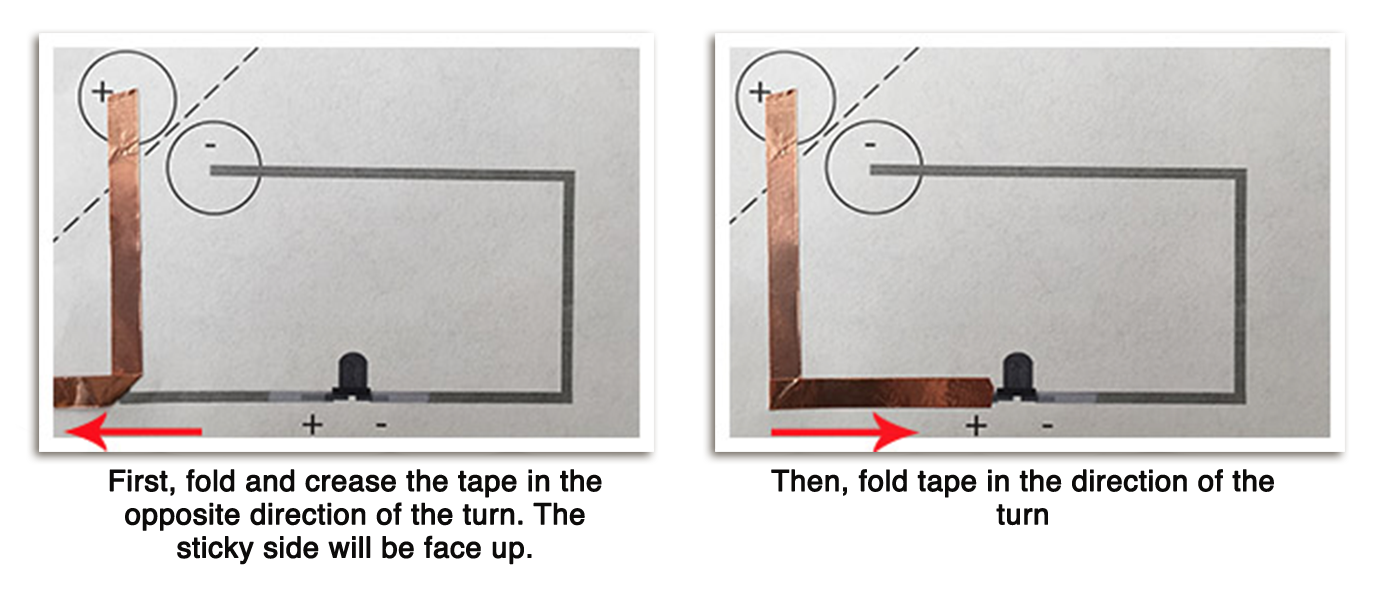
- Before they begin, show students how to turn a corner with their conductive tape.
- As outlined in the activity handout, use the following tutorial videos to illustrate:


Extension ideas:
Consider adding paper circuits to light up other lessons and activities. Students can use the basic skills learned here to take their paper circuits to the next level. Paper circuits can control more than LEDs. You can also use a paper circuit to turn a hobby motor on and off, turn a painting into an interactive work of art or gamify a poster.
